Choosing your first telescope
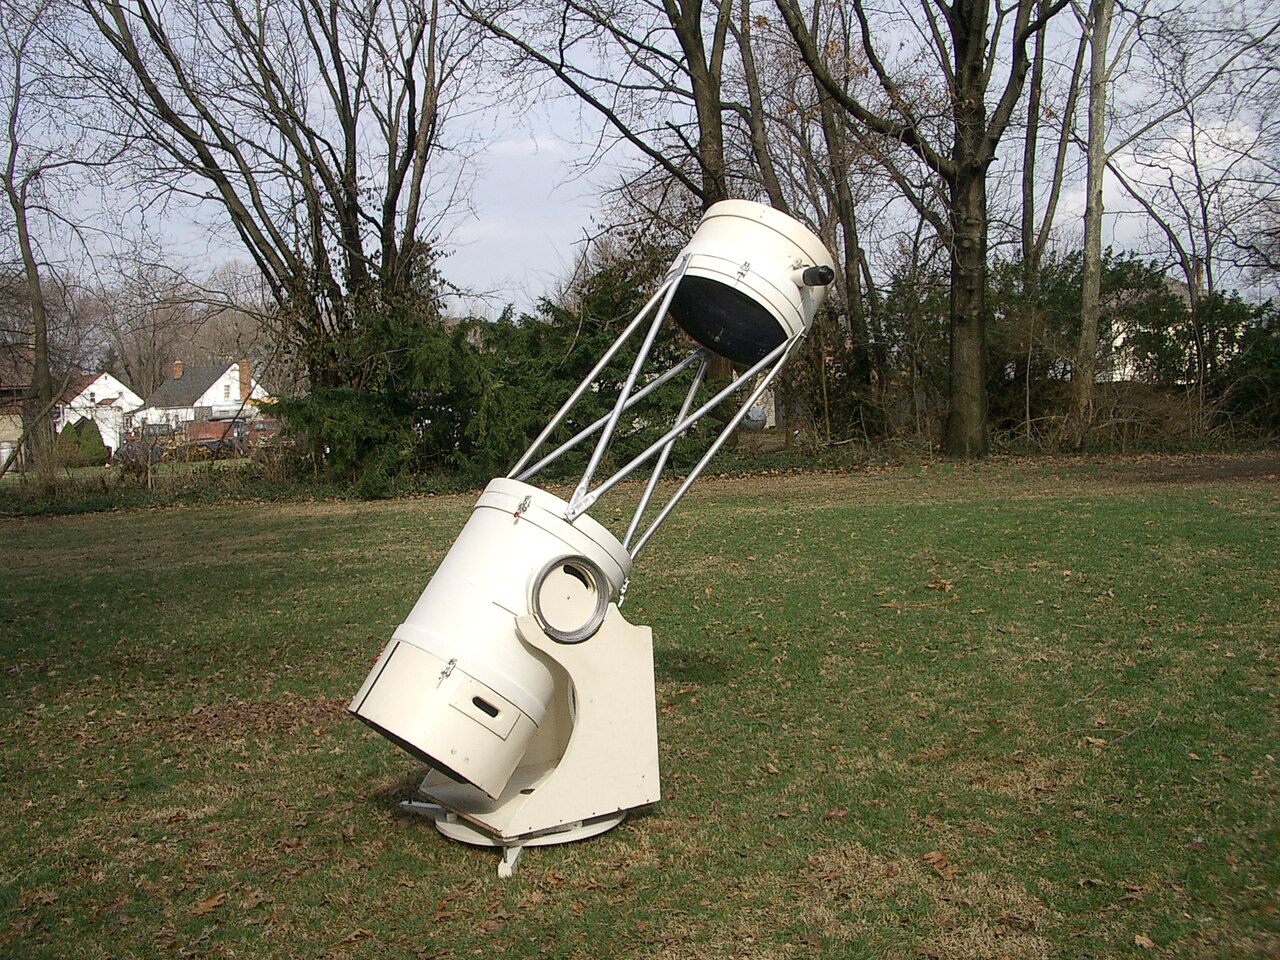
Key facts
| What matters most | Aperture and a steady mount |
|---|---|
| Claim to ignore | Huge magnification figures on the box |
| Sensible starting aperture | About 3 to 8 inches |
| Good first step | A pair of 7x50 or 10x50 binoculars |
| Useful extras | Red flashlight, star chart or app, low-power eyepiece |
| Best place to try before buying | Astronomy club or public star night |
| Cool-down before observing | About 20 to 45 minutes outdoors |
| Sun safety | Only a certified ISO 12312-2 solar filter over the front |
In short
- Compare telescopes by aperture, not magnification; a wider lens or mirror shows more.
- A wobbly mount ruins any telescope; steadiness matters as much as the optics.
- Expect sharp views of the Moon, Saturn's rings and Jupiter's moons, but faint gray galaxies, not colorful photos.
- Binoculars and a star chart are an excellent first step and stay useful forever.
- The best telescope is one light and simple enough that you actually use it.
Start with what you want to see
Before looking at any telescope, think about where and how you will use it. Do you have dark skies or a bright city balcony? Will you carry it down stairs or into a car? Do you want quick looks at the Moon after dinner or long nights hunting faint galaxies?
Honest answers narrow the choice quickly. A telescope that is too heavy or fiddly tends to stay in the closet, while a modest one that sets up in two minutes gets used often. Frequent use is what turns a beginner into an observer.
Aperture and the mount come first
Aperture, the diameter of the main lens or mirror, is the most important specification. It controls how much light is collected and how fine the detail can be. For a first telescope, roughly 3 to 8 inches covers most needs, with larger sizes showing more but weighing more.
The mount is the second half of the telescope. It must hold the tube still and let you move it smoothly. If the view shakes for several seconds after you touch the focuser, you will struggle to see anything at all. A solid simple mount beats a flimsy complicated one every time.
What to avoid
Be wary of boxes that shout huge magnification, such as several hundred times. Any telescope can reach high magnification with a short eyepiece, but the image only gets bigger and dimmer, not more detailed. A useful rule is that the maximum sensible magnification is about 50 times per inch of aperture, and lower on most nights.
Also avoid thin, wobbly tripods, tiny finder scopes you cannot see through, and plastic eyepieces with very narrow views. Glossy pictures of colorful nebulae on the packaging are long-exposure photographs, not what the eye sees. If something seems too good for its size, it usually is.
Realistic expectations
The Moon is spectacular in any telescope, with craters, mountains and long shadows along the line between day and night. Saturn's rings, Jupiter's cloud bands and four bright moons, the phases of Venus and many colorful double stars are all within easy reach.
Galaxies and nebulae are different. Through the eyepiece they look like soft gray glows, because the eye cannot see faint color. They are still rewarding, especially once you know you are seeing light that left the Andromeda Galaxy about 2.5 million years ago, but they are not like the photographs. Dark skies away from city lights improve them more than any upgrade.
Why binoculars make a smart start
Ordinary binoculars, such as 7x50 or 10x50, show far more than the naked eye. They reveal lunar craters, Jupiter's moons, the Pleiades and the Andromeda Galaxy, and their wide view makes it easy to learn the sky.
Learning the constellations with binoculars and a star chart first means that, when you do get a telescope, you already know where to point it. And binoculars never become useless; many experienced observers keep a pair next to their largest telescope.
Accessories worth having
A few inexpensive extras make a big difference. A red flashlight lets you read charts without ruining your night vision, which takes about 20 to 30 minutes to build up. A printed star atlas or a planetarium app helps you find targets. A low-power, wide-field eyepiece makes locating objects much easier.
A comfortable chair or stool, warm clothes and a simple observing notebook are also worthwhile. Hold off on more eyepieces, filters or cameras until you have used the telescope for a few months and know what you are missing.
How to try before you decide
Many astronomy clubs hold public observing nights where members are glad to show their telescopes. Looking through several designs is the fastest way to learn what suits you, and members can explain setup and alignment in person.
Whatever you choose, give it time to cool outdoors before observing, start with the lowest magnification, and aim first at the Moon. Never point a telescope, finder or binoculars at the Sun unless a certified solar filter meeting ISO 12312-2 securely covers the front; unfiltered sunlight through optics can cause permanent eye damage in an instant.
 Astronomy with binocularsWhat 7x50 and 10x50 mean, how to hold them steady, and what to look at first.
 Magnification and eyepiecesHow to work out magnification, its real limits, and what eyepieces change.
 Light pollution and the Bortle scaleWhy city skies hide the stars, and how the 9-step Bortle scale rates darkness.
